A ceiling fan can look like a simple fixture swap, but the support behind the ceiling matters more than the fan you see. To prepare a fan electrical box properly, start by confirming that the existing box and its mounting method are designed to carry a moving ceiling fan – not just a lightweight light fixture.
That distinction protects your ceiling, your new fan, and everyone beneath it. For homeowners in the Dallas-Fort Worth area, a little preparation before an installation appointment can also prevent surprises, delays, or an extra trip for the right materials.
Why a Ceiling Fan Needs More Than a Standard Light Box
A ceiling fan creates more force than a typical light fixture. Its weight pulls down on the mounting point, while the spinning blades add vibration and movement over time. A standard plastic or thin metal fixture box may be acceptable for a light, yet not be rated or securely mounted for a fan.
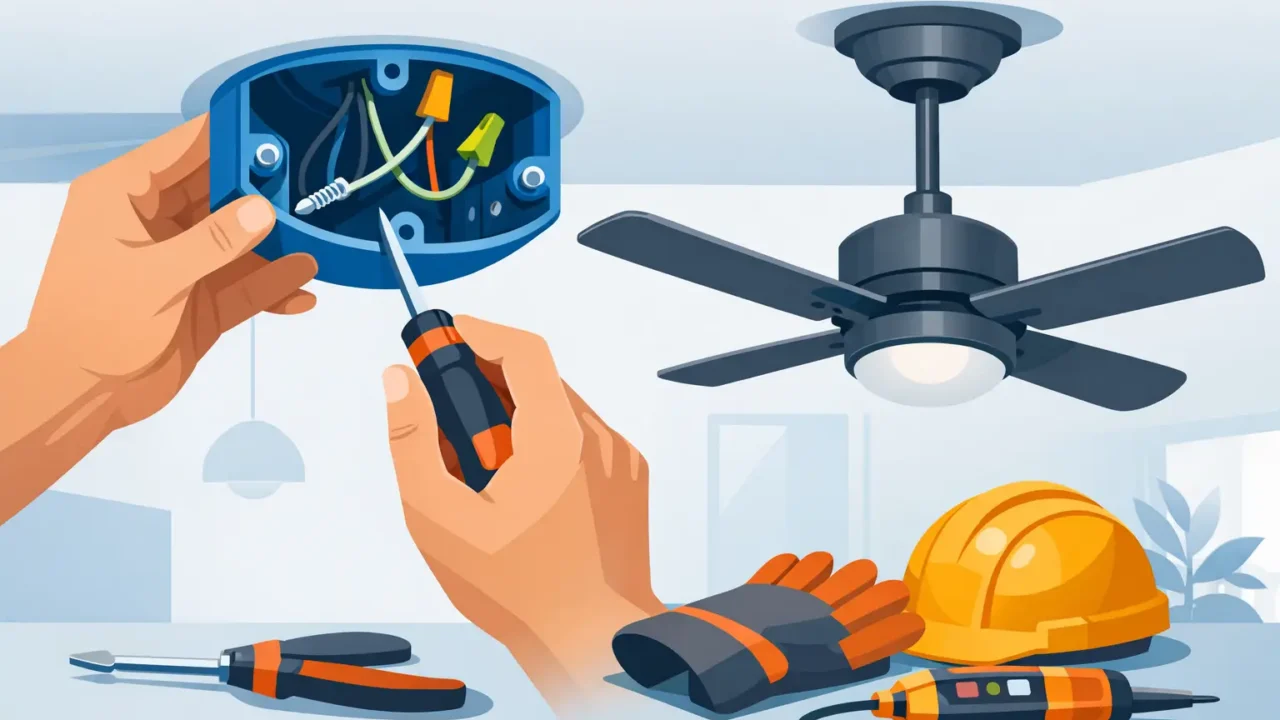
A fan-rated electrical box is specifically listed to support a ceiling fan when installed according to its instructions. It is typically metal and connected to framing or a fan-rated brace designed for the job. The box itself, the brace or framing connection, and the mounting hardware all work together. Replacing only the visible box cover does not solve a weak support issue above the ceiling.
This is one reason a fan may wobble even when the blades are balanced. Blade balance is one possibility, but a loose box, damaged mounting hardware, or unsupported brace can also allow unwanted movement. Those conditions should be addressed before the fan is installed or reinstalled.
How to Prepare a Fan Electrical Box Before Installation
The most useful preparation is not taking electrical work apart yourself. It is making the installation area accessible, identifying what you know about the existing setup, and having the fan and its included parts ready for review.
Clear the area below the ceiling location
Move furniture, valuables, and breakable items away from the work area. A clear path to the room and enough open floor space for a ladder help the appointment stay efficient. If a bed, dining table, or large sectional cannot be moved, let the service provider know before the visit so the work area can be planned appropriately.
Ceiling fans often involve small screws, brackets, blade hardware, and packaging. Clearing the area also makes it easier to protect flooring and complete a careful cleanup after testing.
Locate the correct breaker and wall controls
Know which breaker serves the room if possible, and make sure the electrical panel is accessible. The installer will verify that power is off before working, but knowing the likely circuit can save time in a large or unlabeled panel.
Also point out every control associated with the ceiling location. That may include a standard wall switch, a dimmer, a second switch, a remote-control receiver, or an old fan speed control. Not every control is compatible with every new fan. For example, a fan with its own remote receiver may need different wall-control arrangements than a basic pull-chain model.
Unbox the fan and keep all parts together
Open the new ceiling fan before the appointment, but keep its hardware, remote, canopy, downrod, blade brackets, and instructions in the original packaging or one organized place. Check that the finish, blade count, and mounting style are what you expected.
This is also the time to confirm whether the fan is intended for a standard ceiling, sloped ceiling, or outdoor-covered location. A fan selected for the wrong setting can create installation issues even when the electrical box is suitable.
If your fan includes optional downrods, choose the likely length only after considering ceiling height. A longer downrod can improve clearance on a tall ceiling, while a low ceiling may call for a flush-mount design. Manufacturer requirements for blade clearance and mounting should guide that decision.
Look for visible clues, but do not rely on appearance alone
With power left off, you may be able to see whether the existing ceiling box is metal or plastic after removing a light fixture. However, appearance alone does not confirm that it is fan-rated or properly secured. Some boxes have markings that indicate a fan rating, but the connection behind the drywall still needs to be assessed.
Avoid tugging on the box, widening the ceiling opening, or attempting to add wood blocking from below. A damaged ceiling surface or loose wiring can turn a straightforward fixture installation into a more involved repair. A professional can determine whether the box is appropriately rated and accessible for the planned fan.
Signs the Existing Box May Need Attention
A previous light fixture does not automatically mean the location is ready for a ceiling fan. Pay attention to warning signs and share them when requesting service. They help set clear expectations before the appointment.
Common concerns include a ceiling box that shifts when a fixture moves, a visible gap around the box, cracked or stained drywall, a fan that previously wobbled at the mounting point, or missing mounting screws. Older homes may also have boxes that were installed for lights before ceiling fans became common in bedrooms and living spaces.
A heavy fan, a large-diameter fan, or a fan installed on a vaulted ceiling may need additional evaluation. The proper approach depends on the fan’s listed weight, the existing framing, ceiling access, and the condition of the electrical box. There is no reliable one-size-fits-all answer based only on the room’s age.
What to Share When Scheduling Fan Installation
A few details upfront make it easier to prepare for the visit. Let the service provider know whether this is a replacement fan, a new fan at an existing light location, or a fan being installed where no fixture currently exists. Those are different project conditions.
Mention the ceiling height, whether the ceiling is sloped, and whether there is attic access above the room. Photos of the current fixture and the unopened fan box can also be useful when a digital estimate is being prepared. If you have noticed flickering, a nonworking wall switch, a loose fixture, or ceiling damage, include that information rather than waiting until the appointment.
For a standard replacement at an existing, suitable location, the work may be straightforward. If the box is not fan-rated, the support is loose, or the wiring condition requires work outside the installation scope, the right next step may differ. Clear communication early helps avoid pressure, guesswork, and avoidable changes on the day of service.
Do Not Skip the Final Testing
After installation, the fan should be tested at its available speeds and the light kit, if included, should be checked. The installer should confirm the fan is securely mounted, operates correctly, and does not show unusual wobble. Remote functions and wall controls should also be reviewed so you know how the fan works before the work area is cleaned up.
Some minor movement can be normal depending on the fan model and blade design, but noticeable shaking is not something to ignore. It may call for blade balancing or a closer review of the mounting setup. Keep the fan’s instructions and warranty information for future reference.
Direct Home Pros helps homeowners with ceiling fan installation and other common home projects with clear expectations, careful testing, and respect for the home. If you are unsure whether your existing box is ready, describing the setup before scheduling is the simplest way to start with the right plan.
A new ceiling fan should bring better comfort to the room, not leave you wondering what is happening above the drywall. Preparing the space, having the right fan on hand, and confirming the support is suitable gives the project a safer, cleaner start.