A TV can look clean and intentional on the wall, but the mount is only as secure as what is behind the drywall. To mount tv on drywall studs safely, the mounting bracket needs to be fastened into solid framing – not just drywall, not just paint, and not just anchors chosen because they came in the box.
For many Dallas-Fort Worth homeowners, this is a manageable project with the right tools, mount, and wall conditions. It is also a project where one missed stud or mismatched fastener can leave oversized holes, a crooked screen, or worse, a TV that pulls away from the wall. A few careful checks before drilling make a major difference.
When You Can Mount TV on Drywall Studs
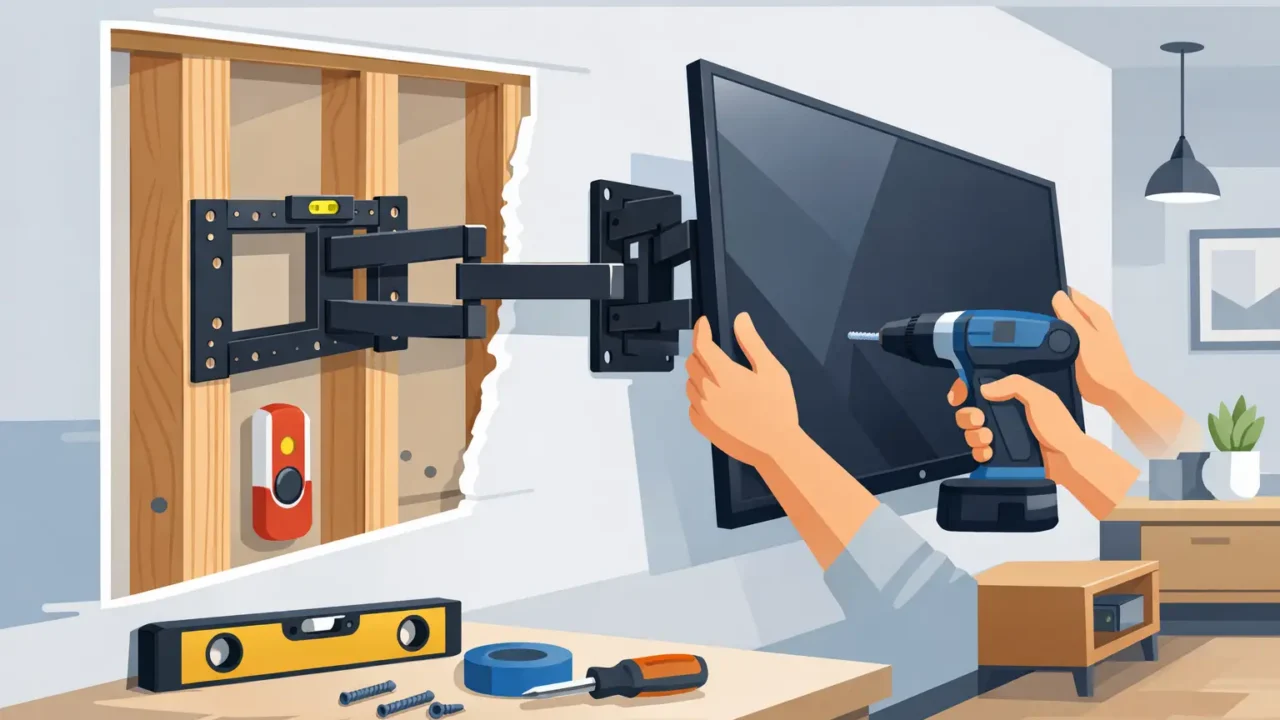
Most interior residential walls are built with vertical wood studs behind the drywall. These studs are commonly spaced 16 inches apart on center, though 24-inch spacing is also used in some homes. A compatible TV mount spans one or more studs and transfers the TV’s weight into the framing.
Before choosing a mounting location, confirm that the wall is appropriate for the TV and mount you have. The mount’s instructions should list its maximum weight capacity, compatible TV size range, mounting pattern, and required hardware. Those specifications are not suggestions. A 65-inch TV may weigh far less or more than another 65-inch model, especially once a soundbar bracket or other accessory is added.
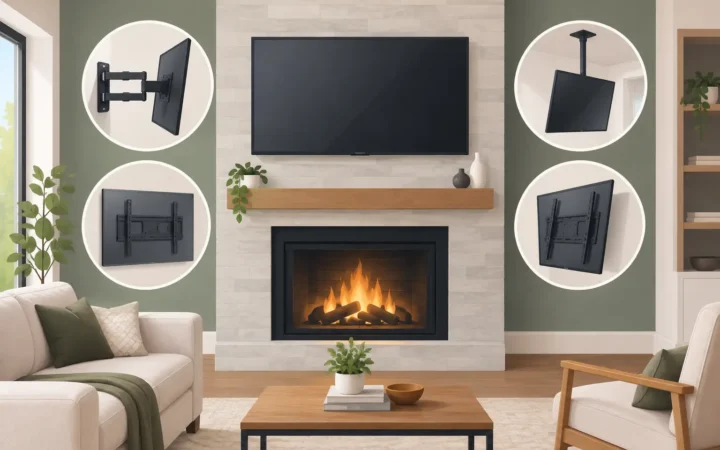
Fixed and tilting mounts generally sit close to the wall and create less leverage on the fasteners. Full-motion mounts let the TV extend, swivel, and tilt, but that convenience places more force on the wall when the arm is pulled out. For a full-motion mount, solid stud attachment and manufacturer-approved lag bolts are especially important.
The wall itself matters, too. Drywall over wood studs is the most straightforward scenario. A wall with metal studs, masonry, brick veneer, visible water damage, or uncertain construction may require a different mounting method. Do not assume the same hardware works on every wall.
Find the Studs Before You Plan the Screen Position
A stud finder is useful, but it should be treated as a starting point rather than the final answer. Stud finders can react to wood framing, metal corner bead, pipes, electrical wiring, or changes in drywall density. Confirm the stud location before drilling the mounting holes.
Start by using the stud finder to mark both edges of a suspected stud. A typical wood stud is 1 1/2 inches wide, so the center should fall between those marks. Check for a second stud at the expected 16- or 24-inch interval. Looking for this pattern helps confirm that you are finding framing rather than a random object behind the wall.
A small pilot hole at the planned bracket location can provide another confirmation. You should feel solid wood after passing through the drywall. If the bit spins freely after the drywall, stop and reassess. Do not install a lag bolt into an empty cavity and hope a drywall anchor will make up the difference.
Stud location can affect where the TV lands on the wall. The ideal visual center of the screen may not line up perfectly with two studs. Many mounts provide horizontal adjustment after the wall plate is installed, which can help. Still, it is smarter to select a mount that works with the stud spacing than to force a centered position with unsupported fasteners.
Choose a Comfortable Viewing Height
A TV mounted too high is one of the most common sources of disappointment after installation. The right height depends on the room, seating, screen size, and whether the TV will be viewed mostly from a sofa, bed, or kitchen. There is no single measurement that fits every space.
For a main living area, a practical starting point is to place the center of the screen near seated eye level. Many homeowners find that the center lands around 42 inches from the floor, but taller furniture, a large screen, or a reclining sectional can change that. Use painter’s tape or a cardboard template to outline the TV on the wall before mounting. Sit in your usual seat and look at it for a few minutes. That simple step can prevent a permanent placement you regret.
Mounting above a fireplace creates additional considerations. Heat, viewing angle, stud layout, and the height of the mantel can all limit the options. A tilt mount may improve the viewing angle, but it cannot fully solve an excessively high installation. Check the TV manufacturer’s clearance guidance before using a wall above a heat source.
Use the Hardware Designed for the Mount
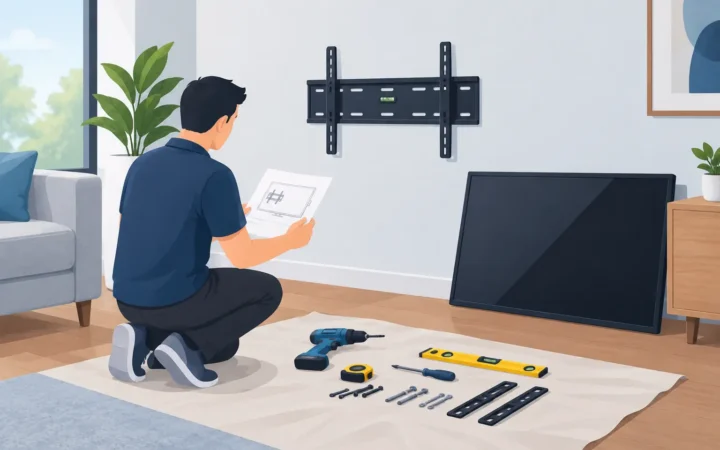
Once the stud locations and TV position are confirmed, hold the wall plate level and mark the mounting holes. A level matters here. Even a slight tilt is noticeable once a large rectangular screen is on the wall.
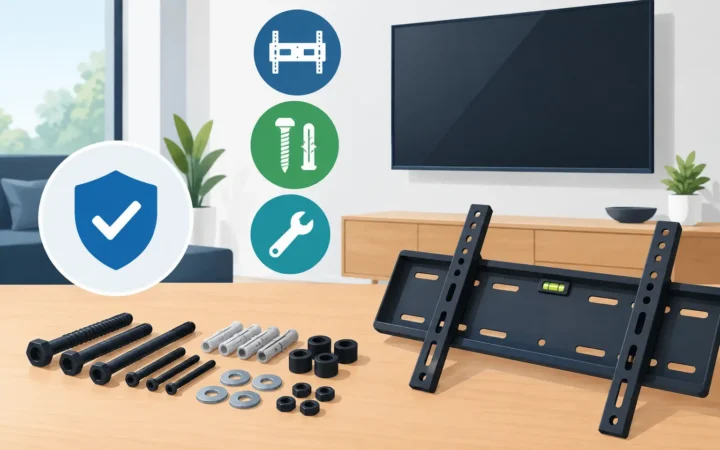
Pre-drill pilot holes sized according to the mount manufacturer’s instructions. Pilot holes help guide the lag bolts into the studs and reduce the risk of splitting wood. Install the wall plate using the supplied or manufacturer-approved lag bolts and washers. Tighten them securely, but do not overtighten to the point that you crush drywall or strip the wood.
The TV-side brackets should be attached with screws that match the television’s VESA mounting holes. Those screws must be the correct diameter, thread pitch, and length. A screw that is too short may not hold properly; one that is too long can damage internal TV components. Spacers are sometimes needed when the back of the TV is curved or recessed.
Do not substitute random screws from a household hardware bin simply because they seem to fit. Follow the TV and mount instructions, including any warnings about spacers, washers, and weight limits.
Avoid the Shortcuts That Cause Wall Damage
Drywall anchors have a place for lightweight items, but they are not a substitute for studs when mounting a television. Even anchors rated for significant weight may not account for the pulling force created by a full-motion mount or repeated adjustments. For a TV mount, use studs whenever the mount design calls for them.
It is also wise to think about what may be inside the wall. Electrical cables, plumbing lines, and low-voltage wiring can run through stud bays. Avoid drilling deeply beyond what the mount instructions require. If a drill hits unexpected resistance, stop rather than forcing through it.
Plan cable routing before the TV goes up. Measure where outlets, media boxes, and soundbar connections will sit once the screen is mounted. Surface-mounted cable covers can keep cords organized without opening the wall. If you want power relocated or wiring concealed inside a wall, that can involve additional electrical and code considerations beyond a standard TV mounting appointment.
Finally, do not skip the two-person lift. Larger TVs are awkward, fragile, and harder to guide onto the wall plate accurately. After hanging the TV, engage the mount’s safety locks or retaining screws, check that the screen is level, and test the tilt or swivel movement slowly.
When Professional TV Mounting Is the Better Choice
Hiring help can make sense when the TV is large, the wall conditions are unclear, the mount is full-motion, or you simply do not want to spend a Saturday measuring, drilling, and troubleshooting. It is also a good option when you want the work completed cleanly and the television tested before the appointment is finished.
A professional TV mounting visit should begin with a review of the wall, mounting location, television, and homeowner-supplied mount. The work should include secure attachment to appropriate framing where required, careful handling of the TV, a level final installation, and cleanup of drilling dust and packaging. Clear expectations matter, especially when the project involves a heavy screen or an older home with unknown wall conditions.
Direct Home Pros provides TV mounting for homeowners across the Dallas-Fort Worth area who want straightforward scheduling, clear communication, and careful work in their home. The best installation is not the fastest-looking one. It is the one that is properly supported, comfortably positioned, and ready for movie night without leaving you wondering what is holding it up.