A television mount can look like a simple bracket until you are standing in front of a wall with a 75-inch TV, a bag of bolts, and no certainty that the hardware in your hand is right for the job. The safest way to select television mount hardware is to match three things before installation begins: the television, the mount, and the wall that will carry the load.
That approach prevents the most common problems homeowners run into – a mount that will not fit the TV’s bolt pattern, screws that are too long or too short, or anchors chosen for drywall when the mount needs to be secured to framing. A clean-looking installation starts with the details behind the screen.
Start With the TV, Not the Box
Television size matters, but it is not the main measurement that determines compatibility. Two TVs with the same screen size can have very different weights, mounting patterns, and recessed connection areas. Before choosing a mount or any replacement hardware, check the TV manufacturer’s manual or the label on the back of the television.
First, confirm the television’s weight without its factory stand. The mount’s stated capacity must exceed that number. A little extra capacity is a sensible margin, particularly with a full-motion mount, where the television extends away from the wall and puts more leverage on the mounting point.
Next, identify the VESA pattern. VESA is the spacing between the threaded mounting holes on the back of a TV, measured in millimeters horizontally and vertically. For example, a 400 x 300 pattern means the holes are 400 millimeters apart across and 300 millimeters apart from top to bottom. The mount must support that pattern, not simply the screen size listed on its packaging.
Also look closely at the back of the TV. Some models have mounting holes set into a recessed area, while others have a curved or uneven back panel. These designs may require spacers and longer machine screws so the mounting plate sits flat without pressing against the television housing.
Choose a Mount Style for the Room
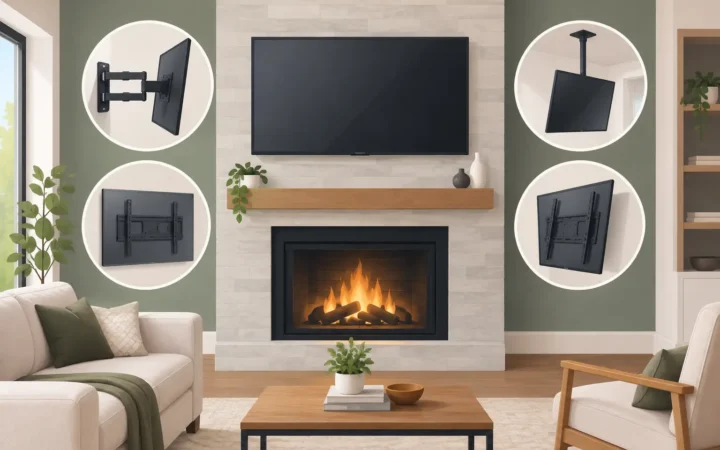
The right hardware depends partly on the kind of mount you select. A fixed mount keeps the TV close to the wall and is often a practical choice for a television installed at a comfortable, straight-ahead viewing height. Because it has fewer moving parts, it typically places less outward force on the wall.
A tilting mount allows a small downward adjustment. This can help reduce glare or improve sightlines when a TV is mounted higher than eye level, such as above a fireplace. The trade-off is that access behind the TV may still be limited, depending on the mount design.
A full-motion mount can tilt, swivel, and extend. It is useful in an open living room, corner, or space where viewers watch from more than one seating area. However, this style places greater force on the wall when the arm is extended. Its wall plate, fasteners, and attachment point need especially careful attention.
Do not choose a mount based on movement alone. Consider where people sit, where sunlight hits the screen, and whether the TV will need to turn regularly. A full-motion mount is helpful when it solves a real viewing issue, but a fixed or tilting mount may be the simpler and more stable choice when the viewing position never changes.
How to Select Television Mount Hardware for the TV
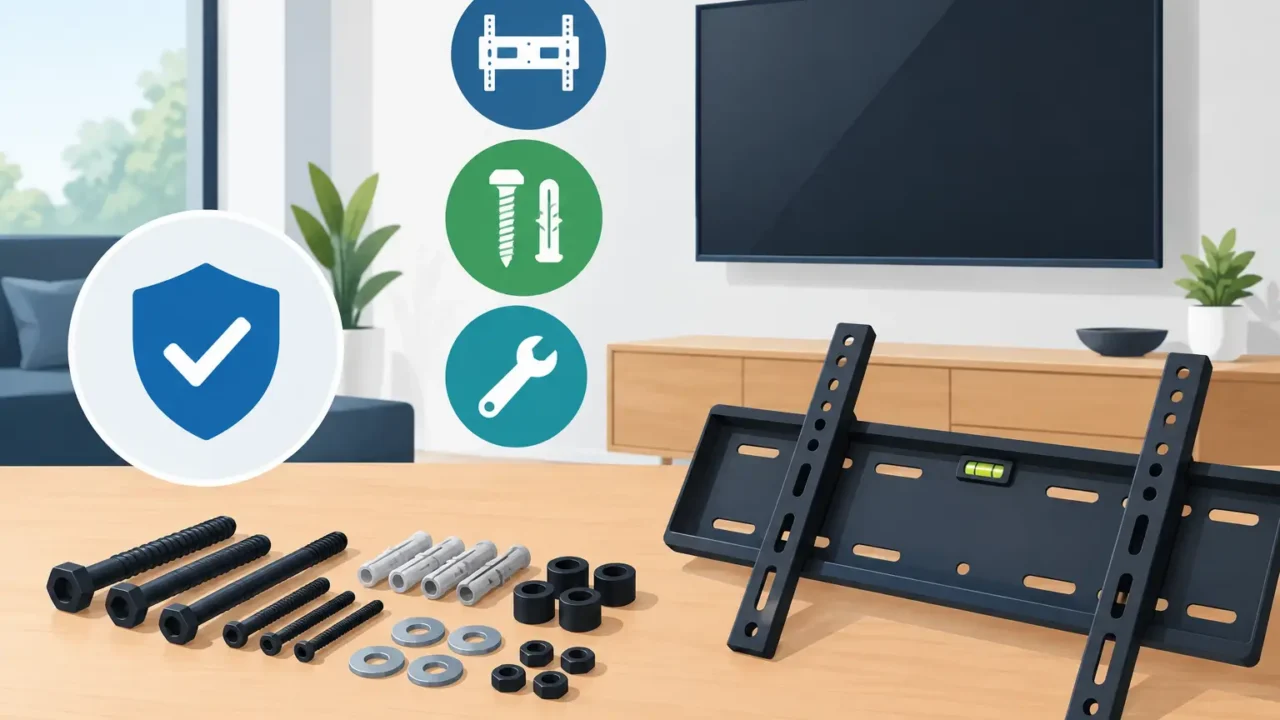
The screws that connect the mounting brackets to the television are machine screws, not ordinary wood screws. Their diameter and thread pattern must match the threaded inserts built into the TV. Common sizes include M4, M6, and M8, but the correct size varies by model. Never force a screw into the mounting hole. If it does not thread in smoothly by hand for the first few turns, stop and verify the size.
Length is just as important. A screw that is too short may not engage enough threads to hold securely. A screw that is too long can bottom out inside the TV or damage internal components. The correct length accounts for the depth of the TV’s threaded insert, the thickness of the mount bracket, and any required washer or spacer.
Many quality mounts include a hardware assortment with several screw sizes, washers, and spacers. That is useful, but it does not guarantee every piece is appropriate for every television. Use the TV manufacturer’s specifications when available. If the back of the TV is recessed, use only the spacers necessary to create a flat, secure connection. Stacking random washers or using improvised hardware can leave the bracket uneven or unstable.
Keep the original TV stand and the unused mounting hardware together after installation. If the television is ever moved, replaced, or serviced, having the correct parts organized can save time and prevent guesswork.
The Wall Determines the Most Important Fasteners
The hardware that holds the mount to the wall is different from the screws that attach the TV to the mount. This is where a safe installation is won or lost.
For most wall-mounted televisions in a typical home, the mount should be fastened into wood studs. Studs are the structural framing behind drywall, and a properly located stud provides a dependable holding point for the lag bolts or structural screws specified by the mount manufacturer. Drywall alone is not a suitable attachment point for a television mount, even if heavy-duty anchors are marketed for large loads.
Stud locations do not always line up perfectly with the center of the room, fireplace, or preferred viewing position. A mount with a wider wall plate may offer more flexibility, but the mount still needs to be installed according to its instructions and secured at approved locations. Trying to shift a mount off the studs for appearance can create a costly and unsafe compromise.
Masonry and brick walls require a different approach. The correct anchors and fasteners depend on whether the wall is solid concrete, brick, mortar, or a veneer system. Mortar joints and hollow materials can behave very differently under load. If your wall is not standard wood framing behind drywall, do not assume the fasteners included with a mount are suitable.
Metal studs also require special consideration. Their thinner construction does not provide the same holding capacity as wood studs for every mount and TV combination. The mount manufacturer’s instructions and the specific wall construction should guide the installation plan.
Check the Mount Package With a Practical Eye
A mount package may advertise universal compatibility, but universal does not mean every TV and every wall application is automatically covered. Review the manufacturer’s specifications before purchase. Confirm the VESA range, TV weight rating, recommended screen-size range, and the wall types approved for installation.
Pay attention to the included wall hardware. Some mount manufacturers provide lag bolts intended for wood studs and a basic selection of anchors. Others state that wall hardware must be selected separately for the installation surface. Neither approach is automatically better. What matters is using hardware rated and intended for your wall type and the mount’s installation requirements.
Avoid using substitute fasteners simply because they fit through the holes in the wall plate. The diameter, length, head style, and material all affect how the mount performs. A shorter screw may not achieve enough embedment into a stud. A bolt with the wrong head may not seat correctly against the mount plate. The hardware should match the mount manufacturer’s instructions, not just appear close enough.
Plan Placement Before Making Holes
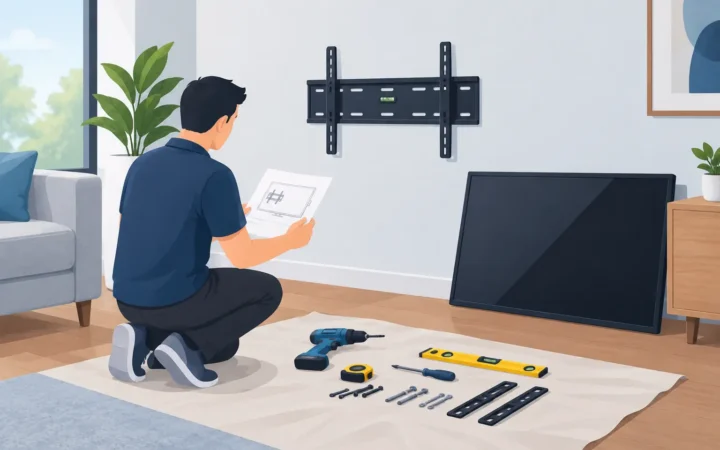
Hardware selection and mount placement go together. Before drilling, hold the wall plate in position and account for the TV’s final height. The center of the wall plate is not always the center of the television. Depending on the bracket design, the screen can sit several inches above or below the plate.
Consider access to the TV’s ports as well. A low-profile fixed mount can make a clean installation, but it may be difficult to reach HDMI, power, antenna, or network connections after the TV is in place. Connecting needed cables first and leaving reasonable access can prevent unnecessary removal later.
For families, placement should also account for normal daily use. A screen that is too high can cause uncomfortable viewing, while a TV installed where it can be bumped by a door, furniture, or active children may need a different location. The goal is not just a level TV on installation day. It is a placement that works well in the room month after month.
When Professional Installation Is the Better Call
A homeowner who has confirmed the TV, mount, and stud locations may feel comfortable handling a straightforward installation. Still, there are situations where professional help offers real value: a large or heavy television, a full-motion mount, uncertain wall construction, masonry, a recessed TV back, or a placement that must be exact.
A professional TV mounting appointment should include confirming the installation location, securing the mount with appropriate hardware, leveling the television, testing its stability, and cleaning up the work area. Homeowners can supply the TV and preferred mount while getting help with the installation details that are harder to see once the screen is on the wall.
Direct Home Pros provides TV mounting for homeowners who want clear expectations, careful work, and a properly finished setup without turning a weekend project into a wall repair. For homes across Hurst, Euless, Bedford, Grapevine, and nearby Fort Worth communities, having the right mount and hardware ready before the appointment helps keep the project simple.
A television deserves more than hardware that merely fits. Choose components that match the TV, respect the wall structure, and support the way your household actually uses the room. That small amount of preparation helps the finished installation feel secure, level, and right where it belongs.