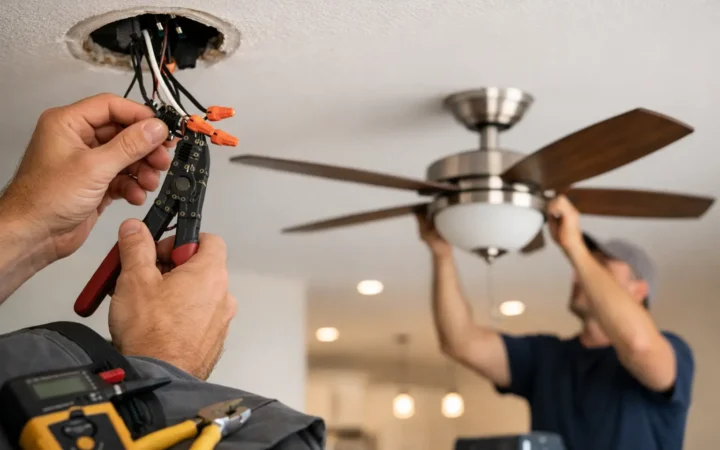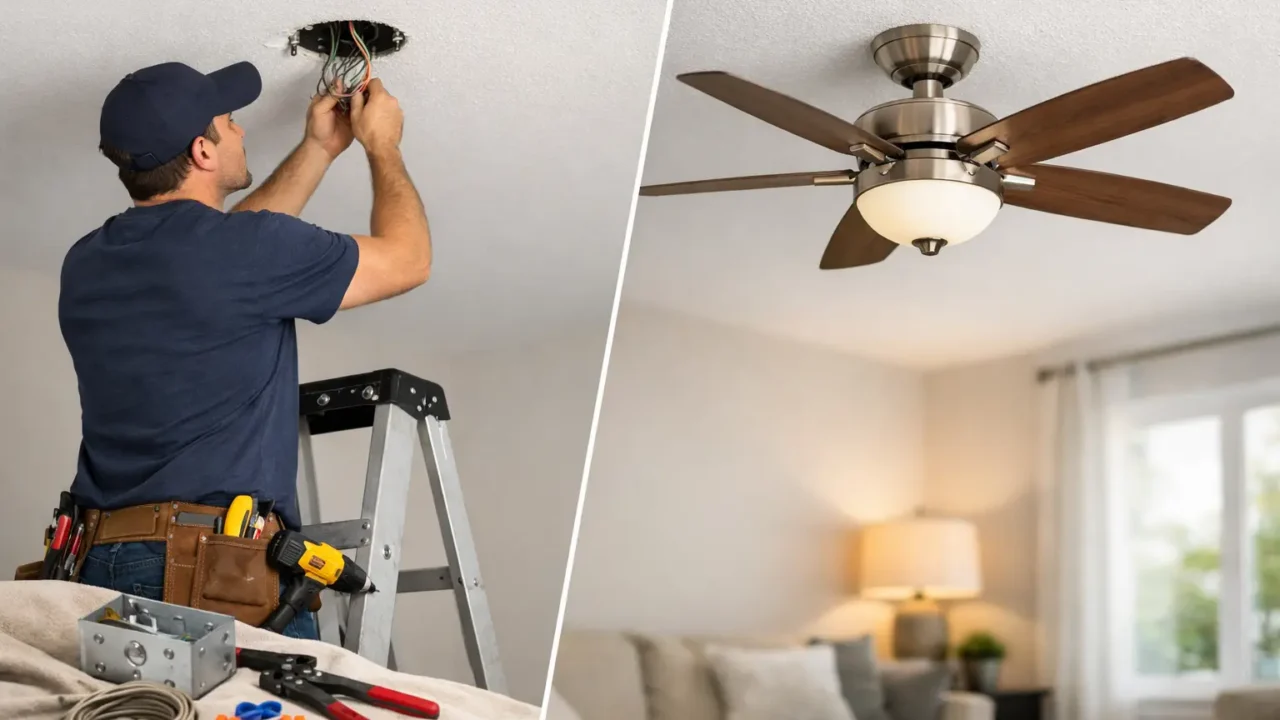
A ceiling fan can make a bedroom, living room, or covered patio feel noticeably more comfortable. But when there is no existing ceiling fixture, the job involves more than attaching a fan to the ceiling. The cost to install a ceiling fan where no fixture exists depends on how power will reach the new location, what is behind the ceiling, and how much finish work is needed afterward.
For many homeowners, a new-location ceiling fan installation costs more than a straightforward fan replacement because it may require new wiring, a fan-rated electrical box, a wall switch, and careful access through the ceiling or attic. A clear estimate should explain what is included before work begins, not leave you guessing after the fan is already in the box.
Typical Cost to Install a Ceiling Fan Where No Fixture Exists
A reasonable planning range for installing a customer-supplied ceiling fan in a new location is often $350 to $800 or more, excluding the cost of the fan itself. The lower end generally applies when there is accessible power nearby, attic access is straightforward, and the installation requires limited drywall work. The higher end becomes more likely when wiring must travel farther, ceiling access is difficult, or the home needs additional electrical work to safely support the new fixture.
That range is a planning tool, not a promise. Two rooms that look nearly identical from below can have very different conditions above the ceiling. A second-story room with open attic access is usually simpler than a first-floor room beneath another finished level. A vaulted ceiling, a concrete ceiling, or a location far from an existing power source can also change the scope.
The fan you choose matters, too. A standard indoor fan is typically more straightforward than a large, heavy fan, a fan with a long downrod, or a model with a separate remote receiver and light kit. The installation still needs to be secure, balanced, and tested before the work is complete.
Why a New Fan Location Costs More
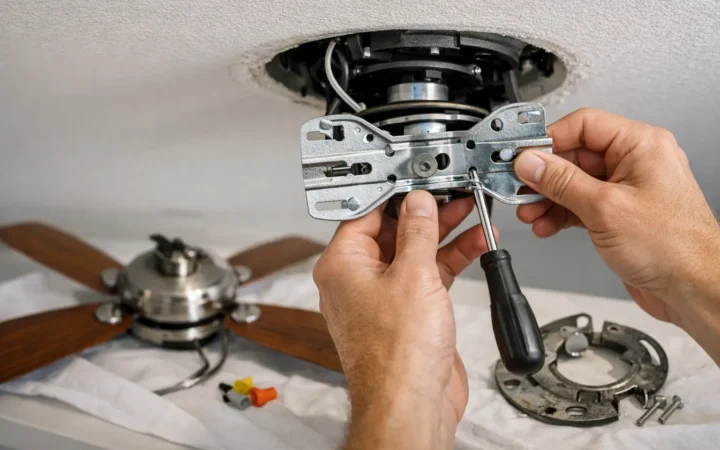
A ceiling fan creates movement and vibration every time it runs. That is why it cannot simply be attached to a standard light-fixture box. The fan needs a properly rated electrical box and secure support designed for its weight and motion.
When no fixture exists, the installer must first create a safe mounting point. Then power has to be brought to that location. Depending on the home, this may involve running new cable from a nearby circuit, installing or updating a wall control, and making a clean ceiling opening for the box.
The work also includes assembling and mounting the customer-provided fan, connecting the wiring, securing the canopy, checking blade clearance, and testing the fan and light functions. A professional installation is not finished when the fan turns on once. It should operate correctly at each speed, respond properly to its control, and remain stable without noticeable wobble.
The Biggest Factors That Affect Your Price
Access Above the Ceiling
Access is one of the first questions to answer. If an installer can reach the new fan location through an open attic, routing wiring may be relatively efficient. If the area is below a finished room, the work can require more careful routing and possibly limited openings to reach the framing and wiring path.
High ceilings add time as well. A fan installed on a tall ceiling may require specialized ladders or equipment, and the height can make assembly, alignment, and final testing more involved. The ceiling material and framing layout also matter. Wood framing is different from metal framing, and both are different from concrete construction.
Distance to a Suitable Power Source
A nearby electrical source can keep a project simple. If power is available from an existing switch, receptacle circuit, or light location that can appropriately serve the fan, the new wiring path may be short.
A fan location farther from available power requires more labor and materials. The installer may need to route wiring across a larger portion of the attic or ceiling structure. In some homes, circuit capacity or existing wiring conditions may need to be evaluated before the installation can move forward.
Wall Switches, Remotes, and Controls
Many homeowners want a wall switch at the room entrance, even when the fan includes a remote. That is often the most convenient arrangement, particularly in bedrooms and living areas. Adding a new wall control can affect the price because it may require a new switch box, wiring, and a clean path inside the wall.
Remote-controlled fans can reduce the need for separate fan-speed wiring, but they do not eliminate the need for proper power and support at the ceiling. Before purchasing a fan, check whether its remote receiver fits inside the canopy and whether the unit is compatible with the control setup you want.
Fan Size, Weight, and Ceiling Style
A larger or heavier fan can need more time to assemble and secure. Ceiling height affects the right downrod length, while sloped or vaulted ceilings may need a compatible mounting bracket. Outdoor-rated fans for covered exterior areas should also be selected for the conditions where they will be used.
Choose a fan that fits the room, not just the look you want. A fan that is too large can overwhelm a small room, while one that is too small may not provide the airflow you expect. Keep enough clearance from walls, doors, and other fixtures so the blades can operate safely.
Drywall and Finish Considerations
A careful installer aims to minimize openings, but a new wiring path can sometimes require limited drywall access. The ceiling opening for the fan-rated box is expected. Additional cutting may be necessary when there is no accessible route above the ceiling or through the wall.
Ask the company quoting the work how finish repairs are handled if access openings become necessary. Clear expectations matter here. Electrical installation, drywall texture matching, and painting are different scopes of work, and they should not be assumed to be included without confirmation.
What Should Be Included in a Clear Estimate
A useful estimate does more than provide one number. It identifies the planned scope and flags the conditions that could affect final pricing. For a new ceiling fan location, homeowners should expect clarity on the new fan-rated box, wiring route, switch or control plan, fan mounting, testing, and cleanup.
It should also state whether the customer is supplying the ceiling fan and any accessories. At Direct Home Pros, customers generally provide their chosen fan, while the service focuses on professional installation, secure mounting, functional testing, and respect for the work area.
An estimate cannot always reveal what is hidden behind drywall or above a ceiling. That is normal. The important part is that any unexpected condition is explained and approved before additional work proceeds. Transparent communication prevents a simple home project from becoming an unpleasant surprise.
Ways to Keep the Project More Predictable
The best way to control cost is to make decisions before installation day. Choose the fan, confirm its mounting requirements, and decide whether you want a wall switch, remote, light kit, or all of the above. Have the fan and included hardware available at the appointment.
If possible, identify the room above the installation area and whether there is attic access. Photos of the room, ceiling height, nearby switches, and the fan location can also help a service provider prepare a more accurate quote. For a fan on a high or sloped ceiling, measure the ceiling height and note whether the fan includes a downrod suitable for that height.
Avoid selecting a fan solely because it is on sale. A bargain fan that lacks the right mounting hardware, has a poor remote design, or is not rated for its intended location can create delays and added cost. A good installation starts with the right fan for the room.
When to Request an On-Site Assessment
A digital estimate may be enough when the proposed location has easy attic access and a clear nearby power source. An on-site assessment is more helpful when the ceiling is unusually high, the room is below another finished floor, the home is older, or you are unsure where power can be safely connected.
It is also smart to request a closer look when you want multiple fans installed, need a new control location, or notice signs of existing electrical concerns such as flickering lights, warm switch plates, or breakers that trip. Those details deserve attention before a new fixture is added.
A new ceiling fan is a practical comfort upgrade, but it should feel just as dependable on day 500 as it does on day one. Start with a clear scope, choose a fan that fits your room, and work with a provider who explains the plan, tests the finished installation, and leaves your home clean.