A ceiling fan can make a Dallas-Fort Worth bedroom, living room, or covered patio feel noticeably more comfortable without changing the thermostat. When the room already has electrical wiring in place, the job is usually straightforward – but the final price still depends on whether that wiring is ready to safely support a fan.
So, how much does it cost to install a ceiling fan with existing wiring? For a standard replacement or installation at an existing, fan-rated ceiling location, homeowners commonly pay a straightforward service price for labor. The cost rises when the existing box is not rated for a ceiling fan, the fan is unusually heavy, the ceiling is tall, or an issue is found after the old fixture comes down.
The most useful way to think about the price is not just “wiring exists” but “is the location prepared for this specific fan?” A clear quote should account for that difference before work begins whenever possible.
Typical ceiling fan installation cost with existing wiring
For a basic installation where a fan-rated electrical box, switch, and usable wiring are already in place, the labor cost is typically at the lower end of the range. This is often the case when replacing an older ceiling fan with a new customer-supplied model in the same location.
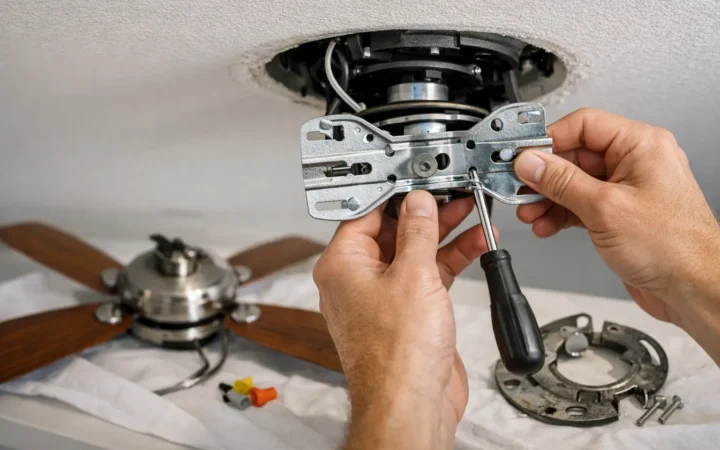
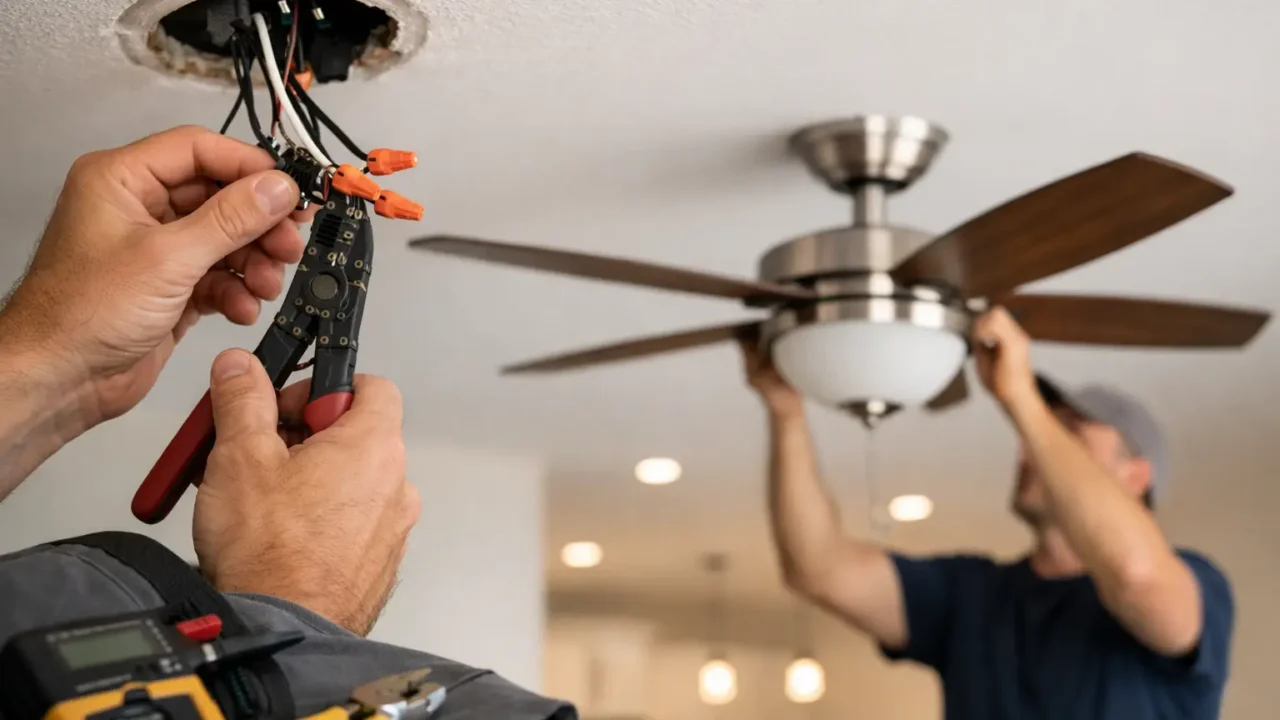
A standard appointment generally includes removing the existing fan or light fixture, assembling and mounting the new fan, making the electrical connections, installing the blades and light kit when included, and testing the fan’s speeds, light, and controls. A professional should also make sure the fan is secure, balanced as needed, and leaves the work area clean.
Homeowners should expect the installed price to reflect the labor only if they are supplying the ceiling fan. The fan itself can range widely in price based on size, motor quality, finish, lighting, smart features, and remote controls. Keeping the fixture purchase separate from installation labor makes it easier to compare options without surprises.
What makes one ceiling fan installation cost more than another?
Existing wiring is a helpful starting point, but it does not guarantee that every installation will take the same amount of time. Several details can affect the scope.
The electrical box must be fan-rated
A ceiling fan moves and creates vibration, so it needs a properly secured, fan-rated mounting box. A standard light-fixture box may hold a lightweight fixture but may not be designed to carry the weight and motion of a fan.
If the existing box needs to be replaced or reinforced, that adds labor and materials. It is not an optional upgrade. Proper support protects the ceiling, the fixture, and the people in the room below it.
Ceiling height and access matter
A fan installed on a standard-height ceiling is usually simpler than one above a stairwell, in a two-story living room, or on a vaulted ceiling. Higher or difficult-to-reach locations require additional setup and more careful access.
Downrods, angled-ceiling adapters, and specialty mounting hardware can also affect the installation. Before scheduling, check the manufacturer’s requirements for your fan and have any included parts available at the appointment.
Fan size, weight, and design can add time
Most residential ceiling fans are routine to install. Larger fans, heavier units, decorative housings, complex light kits, or models with multiple components naturally take longer to assemble and secure.
Remote-controlled and smart fans are also worth a closer look. They can be convenient, but the receiver must fit correctly in the canopy, and the controls must be paired and tested. A good installation is more than getting the blades to turn once – every intended feature should work before the job is complete.
The switch and wall controls should match the fan
An existing wall switch may be perfectly fine for a fan, or it may need attention depending on the fan’s design and controls. Some fans use a remote for speed and light settings, while others are designed for separate wall controls.
This is one reason it helps to share the fan’s make and model when requesting an estimate. Clear information upfront allows the installer to confirm the expected scope and flag likely compatibility questions before arriving.
Hidden issues can only be confirmed after opening the location
Even in a home with an existing ceiling light, the condition of the box, wiring, mounting hardware, and connections is not always visible from the room. Older homes and previously altered installations can reveal issues once the fixture is removed.
That does not mean homeowners should expect a surprise bill. It means a responsible service provider should explain what was found, what needs to be addressed for a safe installation, and what the added work would cost before proceeding. Clear approval matters, especially when a simple replacement turns into a small corrective project.
What should a ceiling fan installation quote include?
The lowest number is not always the best value if the scope is vague. When comparing installation pricing, ask what is included in the standard service and what circumstances may create an additional charge.
A clear quote should identify whether it covers installation at an existing location, removal of the old fixture if applicable, basic assembly, secure mounting, electrical connection, and functional testing. It should also state whether the homeowner is responsible for providing the fan, downrod, remote, wall control, specialty adapter, or other manufacturer-specific parts.
For many homeowners, transparent pricing is as valuable as the installation itself. You should know what is planned before the work begins, receive an explanation if conditions differ from the original request, and have the chance to approve any change. That approach avoids the frustration of vague service windows, unclear labor charges, or pressure to add work you did not request.
How to prepare for your appointment
A little preparation can help keep the visit efficient. Have the new ceiling fan at the home, unopened or organized with all parts, before the installer arrives. Confirm that the fan is suitable for the room size and ceiling type, and save the instructions and remote-control components.
Make the area beneath the fan accessible by moving fragile items and furniture when practical. If there is an existing fan or light fixture, let the service provider know. Sharing a few photos of the current location, ceiling height, and the new fan box can make a digital estimate more accurate.
It is also helpful to mention anything unusual: a vaulted ceiling, very high ceiling, exterior-covered location, remote-only operation, or a switch that has been unreliable. Those details are not complications to hide. They are the information that helps set the right expectations from the start.
When existing wiring is not enough
If there is no wiring at the desired location, if a new switch location is needed, or if the project requires substantial electrical changes, the job falls outside a basic existing-wiring fan installation. Those situations should be evaluated separately so the work is properly scoped and priced.
The same applies when the ceiling structure or electrical setup cannot safely support the fan as planned. A dependable installer should not force a fan into an unsuitable location just to finish quickly. Pausing to explain the issue is the right call when safety or long-term reliability is involved.
A practical way to budget for the project
Start with the fan you want, then request a clear labor estimate based on the current ceiling location and the fan’s details. If the location already has a fan-rated box and compatible wiring, budget for a standard installation. If the box, controls, access, or mounting setup needs attention, allow room for a higher quoted price.
For homeowners across Dallas-Fort Worth, Direct Home Pros keeps the process simple with clear expectations, respectful in-home service, functional testing, and cleanup after the work is complete. A ceiling fan should feel like a finished improvement, not another item left on your home to-do list.