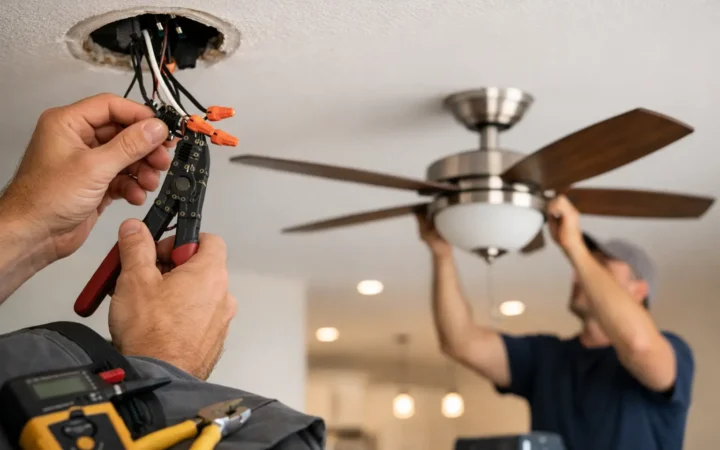
A ceiling fan that wobbles, sags, clicks, or sits unevenly can make homeowners assume the fan itself is failing. Sometimes that is true. Other times, a ceiling fan mounting bracket replacement is the real solution – but only after confirming what is actually loose, damaged, or incompatible above the fan canopy.
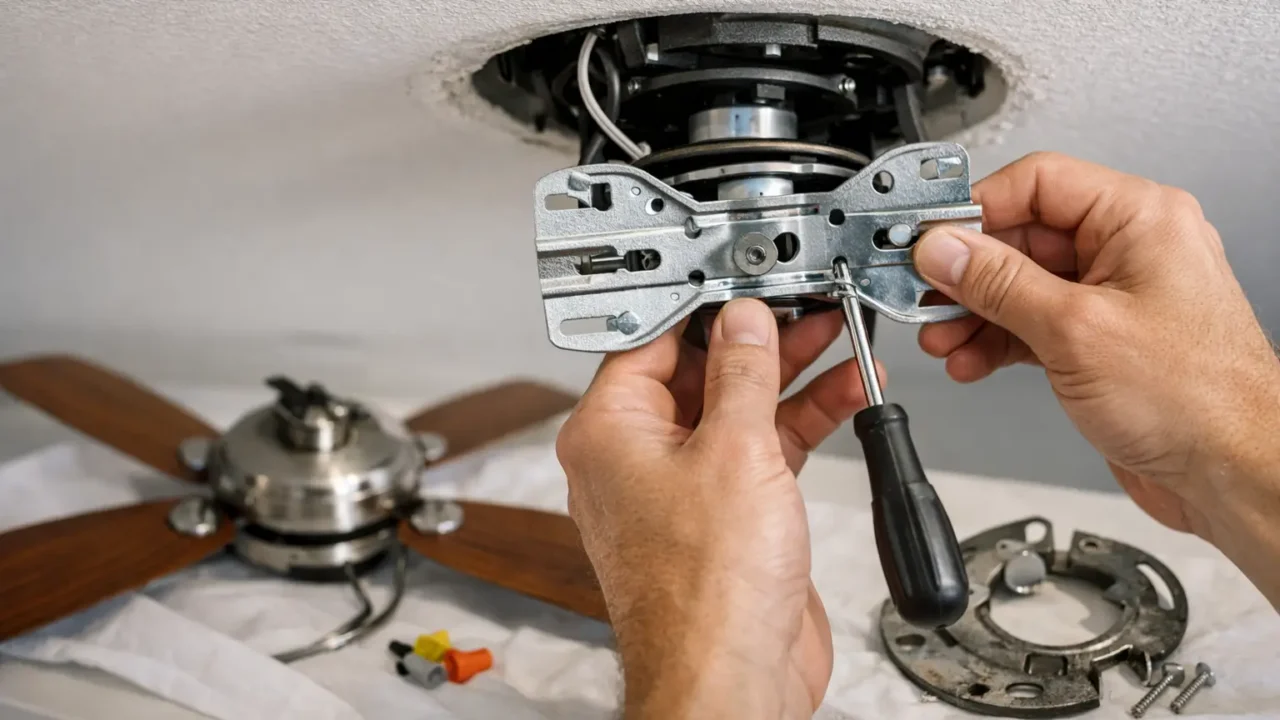
The mounting bracket is a small part with a big job. It connects the fan assembly to the ceiling’s approved electrical box and support structure. Because a ceiling fan moves, carries weight, and can create vibration over time, this is not a repair to guess through with a few leftover screws. A careful inspection helps protect your ceiling, your fan, and everyone in the room below it.
When a Ceiling Fan Mounting Bracket Replacement Makes Sense
A mounting bracket can bend, crack, corrode, lose threads, or become damaged during a previous fan removal. It may also simply be the wrong bracket for the fan currently installed. Many ceiling fans include a manufacturer-specific bracket, and those parts are designed to work together. Reusing an old bracket with a new fan is not always appropriate, even if the screw holes appear to line up.
The fan is secure at the ceiling box, but the bracket is damaged
If the electrical box is properly supported and firmly attached, a damaged hanger bracket may be the only component that needs replacement. Common signs include stripped mounting holes, a bent metal plate, missing locking hardware, or a bracket that does not allow the fan canopy to sit flush to the ceiling.
The right replacement is usually the bracket supplied by the fan manufacturer or one specifically approved for that fan model. A generic bracket may look similar, but the hook placement, screw spacing, canopy fit, and load support can differ. This is one area where a close-enough part is not a dependable answer.
The bracket is fine, but the electrical box is not fan-rated
This is one of the most important distinctions homeowners can make. The mounting bracket is not the same as the electrical box behind it. A standard light fixture box may support a light, but it may not be designed to support the weight and movement of a ceiling fan.
If the box is loose, cracked, plastic, unsupported, or not identified for ceiling fan use, replacing only the bracket will not solve the underlying issue. The correct scope may include installing a fan-rated box and proper support before mounting the fan again. That extra step takes more care, but it addresses the part of the installation that carries the load.
The fan was installed with mismatched or missing hardware
Missing screws, improvised washers, or hardware that does not thread smoothly into the box are warning signs. The screws that secure a fan bracket are structural fasteners, not decorative hardware. They need to be the correct size, length, and type for the approved box and bracket.
Do not rely on drywall anchors, wood screws driven through the bracket, or screws that only catch a few threads. A fan may seem stable when it is off, then reveal a problem once the blades begin moving. Proper mounting is about secure support first, then clean appearance and quiet operation.
What a Professional Inspection Should Check
Before a bracket is replaced, the fan should be turned off at the breaker and carefully lowered enough to inspect the connection points. The goal is to find the actual cause, not replace a visible part while leaving a hidden problem in place.
A thorough inspection looks at the bracket’s condition, the electrical box rating and attachment, the fasteners, the fan downrod or ball mount, and the canopy fit. It also checks whether the fan is properly balanced and whether the blades or blade arms show damage. A wobble is not always a bracket issue. It can come from warped blades, loose blade screws, an uneven ceiling, or an incorrectly seated downrod.
The ceiling area matters, too. Water staining, soft drywall, or a ceiling crack near the fan should be addressed before remounting anything. Moisture and framing movement can affect the support behind the box. A secure fan installation should never cover up an active ceiling problem.
Ceiling Fan Mounting Bracket Replacement: What to Expect
For a straightforward bracket replacement on a sound, fan-rated ceiling box, the work typically begins with protecting the area below the fan and confirming that power is off. The fan is supported and disconnected as needed, then the old bracket and hardware are removed.
The replacement bracket is installed using the correct fasteners, with attention to the manufacturer’s mounting orientation. The fan is then reattached, wiring connections are secured, the canopy is fitted cleanly, and the fan is tested at each speed. If the fan includes a light kit, that function should be tested as well.
Cleanup is part of a finished job. Small parts, wire clippings, packaging, and dust should not be left behind for the homeowner to manage. A properly completed visit ends with a fan that is secure, functional, and visually finished at the ceiling.
If the inspection finds an unsupported box, damaged wiring, extensive ceiling damage, or another issue outside a simple mounting repair, the scope may change. Clear communication matters here. Homeowners should know what was found, why it matters, and what work is needed before moving forward.
Choosing the Right Replacement Part
Start with the fan’s make and model number, usually found on a label at the top of the motor housing, inside the canopy, or in the original manual. If the original bracket is available, keep it until the replacement arrives so the mounting design can be compared.
The best option is a manufacturer-approved replacement bracket. It is built for the fan’s mounting system and helps ensure the canopy, downrod, and fasteners work as intended. If the original fan is discontinued and its bracket is unavailable, a qualified installer can assess whether a compatible approved solution exists or whether replacing the full fan is the safer choice.
For homeowners who provide their own fan or replacement hardware, it helps to have all included parts ready before the appointment. That includes the mounting bracket, screws, canopy, downrod components, remote receiver if applicable, and installation instructions. Missing hardware can delay an otherwise simple project.
When to Call for Help Instead of Retightening Screws
Turning a loose screw may seem like an easy fix, but it is not always clear which screw is loose or what it threads into. Tightening the wrong fastener can strip threads, crack a canopy, or mask a failing ceiling box. Stop and arrange service if the fan moves at the ceiling, makes a new grinding or clicking sound, hangs unevenly, has exposed wiring, or was installed on a box you cannot confirm is fan-rated.
This is especially worthwhile for high ceilings, heavy fans, vaulted ceilings, and fans with remote controls or integrated lighting. The fan must be safely supported during the work, and a ladder setup that feels manageable on the ground can become risky once both hands are occupied overhead.
Direct Home Pros helps Dallas-Fort Worth homeowners with practical ceiling fan replacement and mounting work, including careful testing and cleanup after the job is complete. The focus is simple: assess the mounting point, install the correct equipment for the situation, and leave the room ready to use without pressure for services you do not need.
Before buying a replacement bracket, take a clear photo of the fan, canopy, existing bracket, and electrical box if visible. Those details can prevent a wrong-part purchase and make the path to a secure, quiet ceiling fan much more straightforward.